Locating and Identifying Fan Headers
Consult your motherboard manual for a detailed layout diagram. Visually inspect your motherboard:
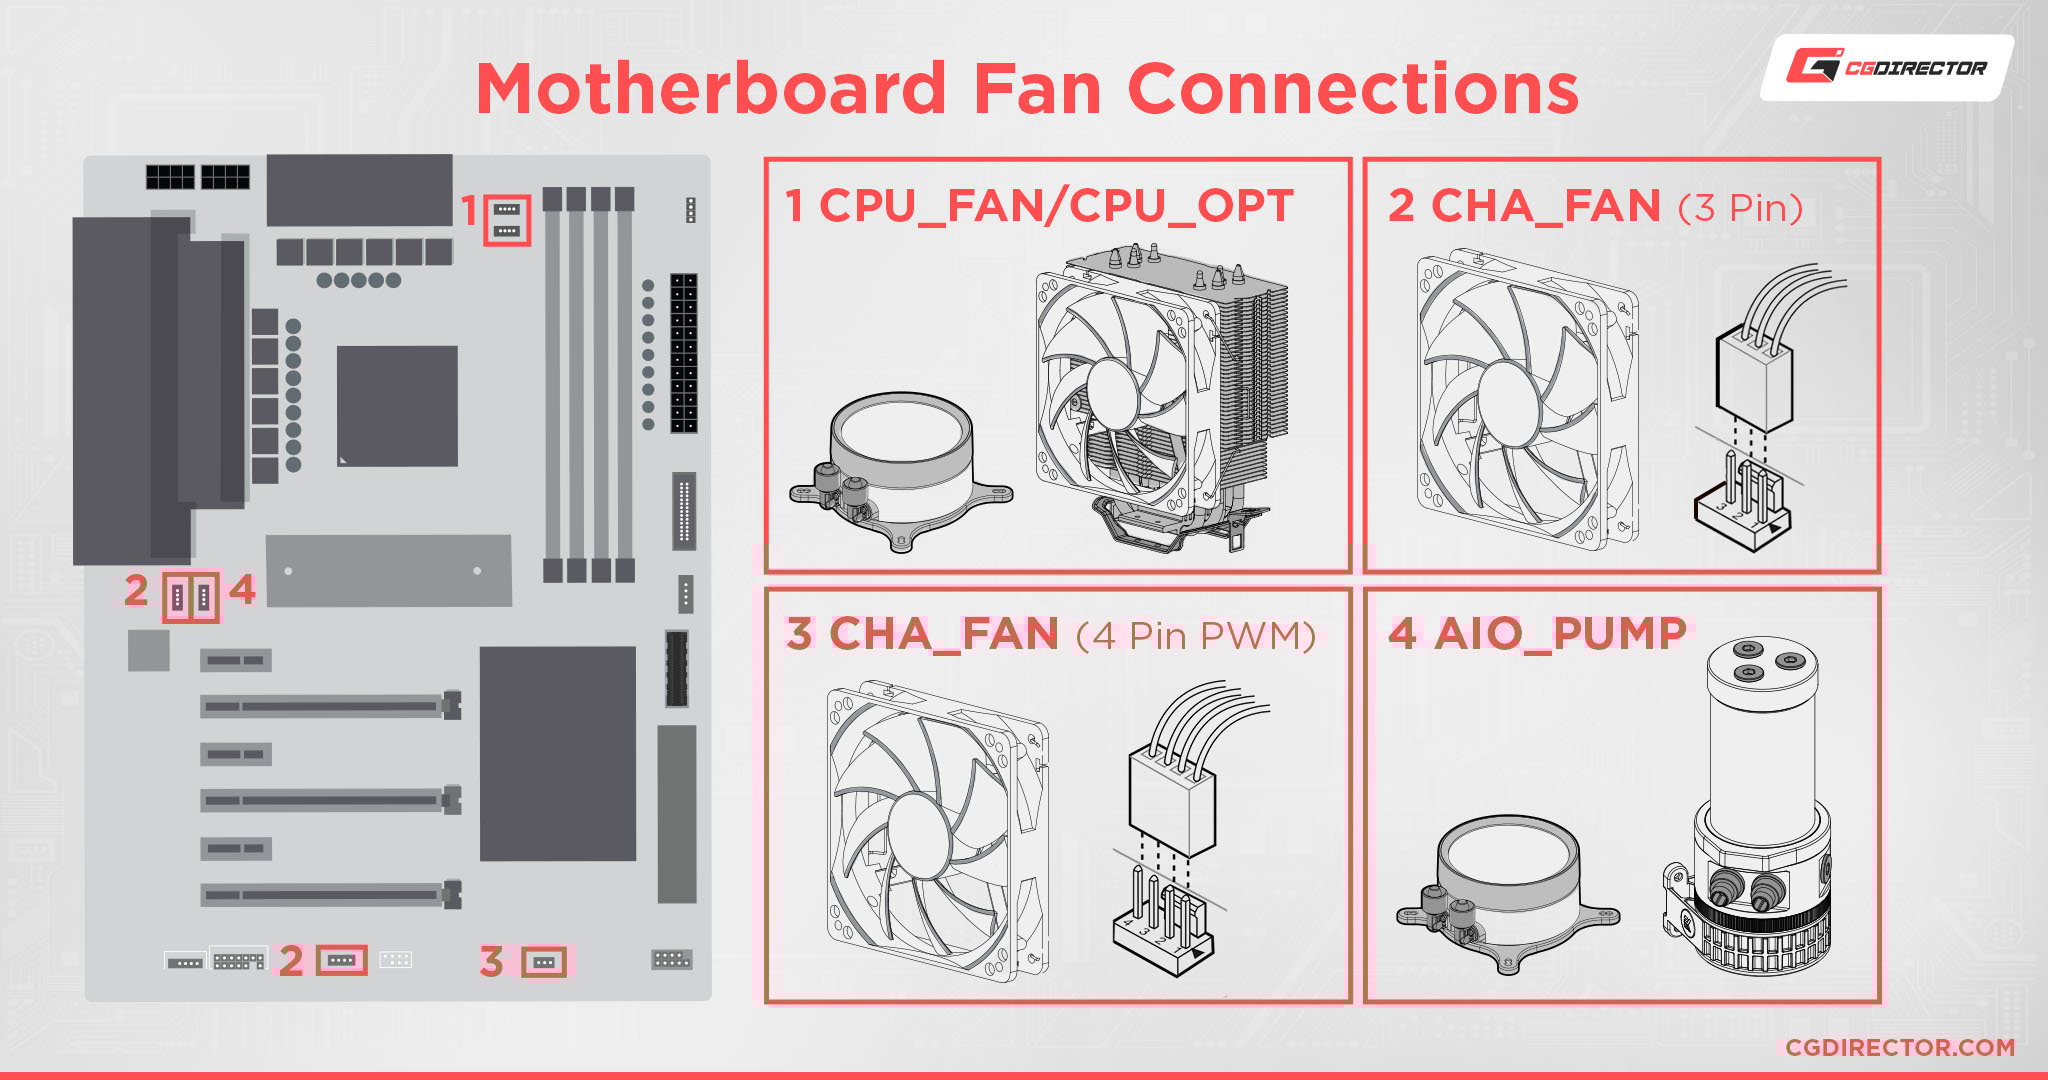
- CPU_FAN: Located near the CPU socket. Mandatory for the primary CPU cooler fan.
- CPU_OPT: Often near CPU_FAN, typically used for a second CPU fan or liquid cooler pump.
- SYS_FAN / CHA_FAN: Spread across the board (bottom, top, edges), labeled accordingly, for case fans.
- AIO_PUMP / PUMP: Dedicated header (often higher power) for liquid cooler pumps.
Headers have 3 or 4 pins. 4-pin headers support PWM control. Most motherboards use standardized black plastic sockets with labeled pins.
Understanding 3-Pin vs. 4-Pin Headers
- 3-Pin (DC Control): Pins are Ground, +12V Power, and Speed Sensor/Tach. Speed controlled by varying voltage (e.g., 12V full speed, 7V slower).
- 4-Pin (PWM Control): Pins are Ground, +12V Power (constant), Speed Sensor/Tach, and PWM Signal. Speed controlled by rapid power pulses, more efficient at low speeds.
Compatibility: A 3-pin fan works on a 4-pin header (using DC control). A 4-pin PWM fan works on a 3-pin header (losing PWM, runs full speed or via DC if the header supports it).
Step-by-Step Installation
- Check Fan Specs: Note power draw (Amps/A or Watts/W) printed on fan sticker. Exceeding header limits risks damage.
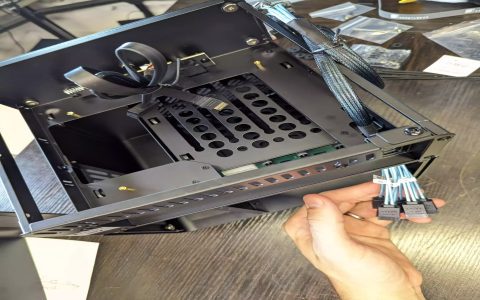
- Align Connector: Match the plastic clip/ridge on the fan connector to the plastic guide/tab on the motherboard header.
- Secure Connection: Push the connector straight down firmly until fully seated. Never force it at an angle. No tools required.
- Multiple Fans:
- Use dedicated motherboard headers where possible.
- For more fans than headers, use a low-power (≤ 1A total draw) fan splitter cable (NOT a hub requiring SATA power). Plug it into a single motherboard header.
- AIO Pumps: Connect the pump power cable to a dedicated PUMP header or CPU_FAN/CPU_OPT. Connect radiator fans to CPU_FAN.
Configuring Fan Settings in BIOS/UEFI
Access BIOS/UEFI (usually press DEL/F2 during boot):
- Navigate to Hardware Monitor, Q-Fan Control, Fan Tuning, or similar section.
- Select Control Mode:
- For 3-pin fans: Choose DC Mode or Voltage.
- For 4-pin fans: Choose PWM Mode.
- Adjust Fan Curve: Set temperature sources (often CPU for CPU_FAN) and define how fan speed increases with temperature.
- Save & Exit: Save changes and reboot.
Key Precautions
- Amperage Limits: Do NOT exceed the header's rated current (typically 1A = ~12W total, check manual). High-power components need direct PSU connection.
- Correct Header: Prioritize CPU_FAN for the main CPU cooler fan. Some motherboards warn or prevent boot if this header is empty.
- Pump Header: Connect AIO pumps to dedicated pump headers for optimal power and control (if available).
- Check Spinning: Verify fans spin during POST/BIOS boot after installation.