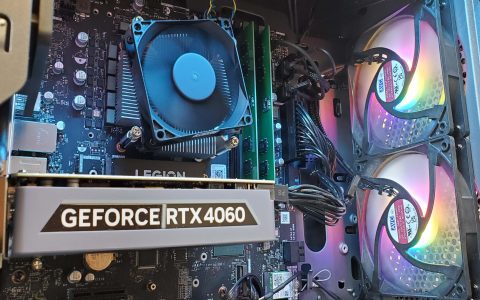
When your 4+4 pin 12V connector fails, it often prevents your system from booting or causes instability due to insufficient CPU power. This guide covers quick, professional troubleshooting steps.
Possible Causes
A non-functional 4+4 pin 12V connector can result from multiple factors:
- Loose connection at the motherboard or power supply unit (PSU) end.
- Damaged cable or pins such as bends, frays, or physical deformation.
- PSU issues like insufficient wattage, component failure, or overloaded circuits.
- Motherboard slot problems including corrosion, dirt, or faulty solder joints.
Easy Troubleshooting Tips
Follow these steps systematically to diagnose and resolve the issue safely:

- Inspect physical connections: Power off and unplug the system. Reseat both ends of the 4+4 pin cable firmly into the PSU and motherboard socket, ensuring no gaps.
- Check for cable damage: Examine the cable for cuts, kinks, or bent pins. If found, replace the cable or PSU if under warranty.
- Test the PSU: Use a multimeter to measure voltage at the 4+4 pin connector. Expect a stable 12V; deviations indicate PSU failure—replace it if necessary.
- Verify motherboard compatibility: Ensure your motherboard requires a 4+4 pin setup (common for high-power CPUs) and that the PSU can deliver adequate current.
- Clean and isolate: Dust ports with compressed air. Test booting with minimal components to rule out other hardware conflicts.
Always prioritize safety: disconnect power during checks, and consult your hardware manuals if issues persist.


