Step 1: Inspect the Fuse
Locate your vehicle's fuse box, often under the dashboard or hood. Identify the rear defroster fuse using the owner's manual. Replace any blown fuse with an exact match in amperage to prevent electrical issues.
Step 2: Test the Defroster Switch
Operate the switch and listen for a relay click. Use a multimeter to check for voltage output. If no power, replace the switch to restore functionality.
Step 3: Examine Wiring Connections
Inspect all wires leading to the rear window for damage, corrosion, or loose connections. Common problem areas include the hatch or trunk entry points—tighten or repair as needed.
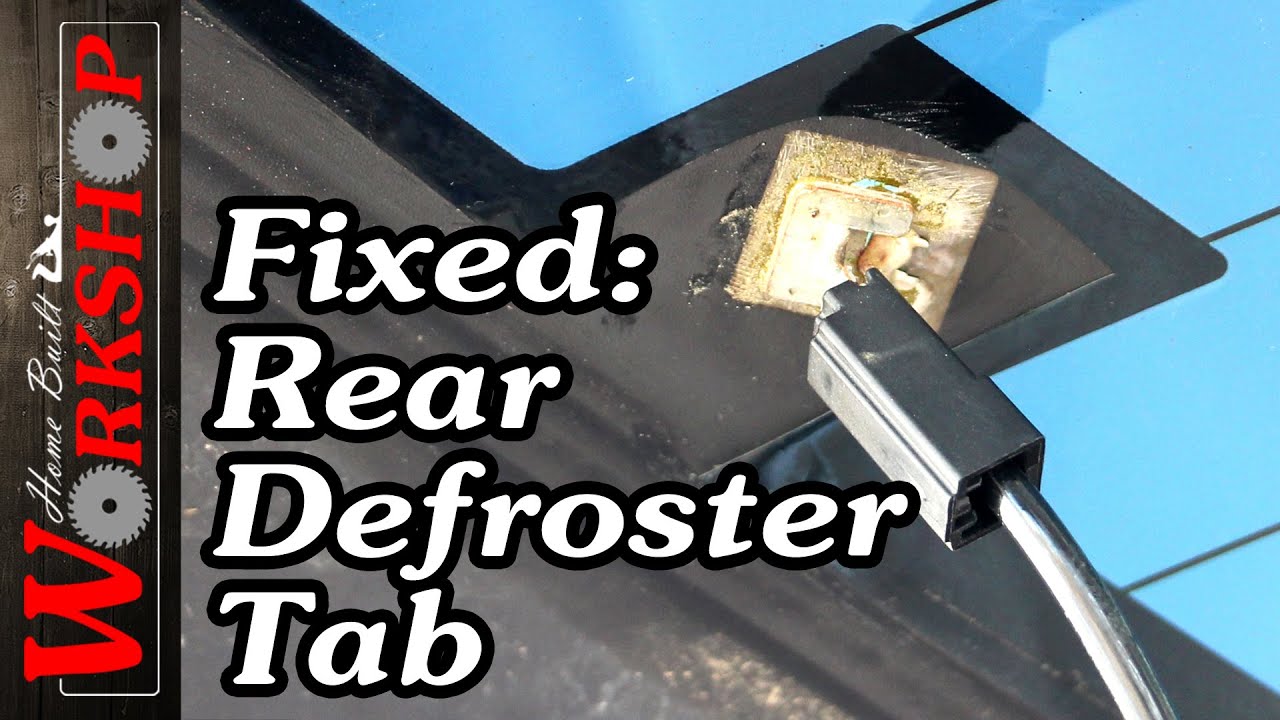
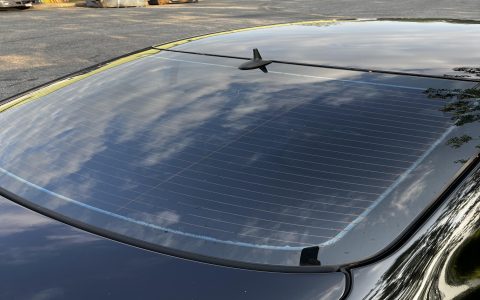
Step 4: Assess the Heater Grid
Visually scan the defroster grid on the rear window for breaks or discoloration. Use a multimeter to test grid continuity; repair minor breaks with a defogger kit.
Step 5: Check the Relay
Identify the defroster relay in the fuse box. Swap it with a similar relay to test functionality. If faulty, replace it to ensure proper circuit activation.
Step 6: Verify Control Module
For modern vehicles, scan for error codes using an OBD-II tool. Reset or replace the module if it governs defroster operation and shows faults.
Step 7: Consult a Professional
If previous steps fail, seek a certified mechanic for advanced diagnostics on wiring harnesses or internal components to avoid safety risks.