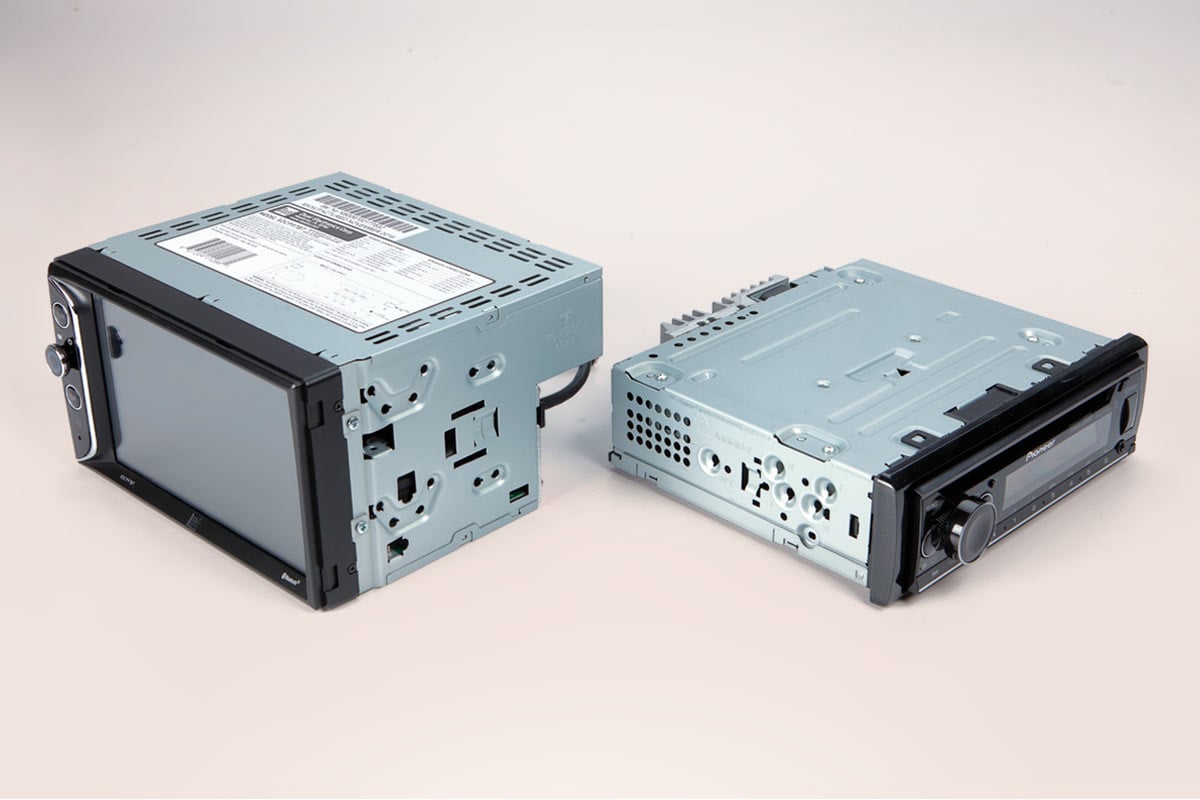
A Din and a Half car stereo, sometimes called 1.5 Din, is an intermediate size car radio chassis between the standard Single-Din (approximately 2 inches / 50mm tall) and Double-Din (approximately 4 inches / 100mm tall) sizes. Historically found in some North American vehicles (like certain Chevys, Fords, and Chryslers) from roughly the 1980s to early 2000s, it offers a taller faceplate height than Single-Din while being shorter than Double-Din, typically featuring a unique mounting bracket system.
Why Din and a Half?
This specific size allowed manufacturers to integrate radios with larger displays (for features like trip computers or basic navigation) without requiring the full Double-Din space. While less common in modern vehicles, finding a direct replacement often necessitates seeking compatible aftermarket units specifically labeled as Din and a Half/1.5 Din, as standard Single or Double-Din units will not fit without significant modification.
Easy Installation Guide
Installing a Din and a Half stereo requires attention to its unique size and brackets.
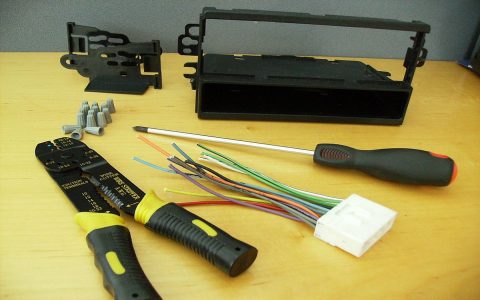
Tools & Materials Needed:
- Specific Din and a Half Aftermarket Head Unit or Factory Replacement
- Vehicle-Specific Wiring Harness Adapter
- Antenna Adapter (if required)
- Vehicle-Specific Mounting Kit / Trim Panel
- Wire Strippers / Crimpers
- Electrical Tape or Heat Shrink Tubing
- Panel Removal Tools
- Screwdrivers
Installation Steps:
1. Disconnect Battery: Always disconnect the negative terminal of the car battery before beginning work to prevent electrical shorts and potential damage.
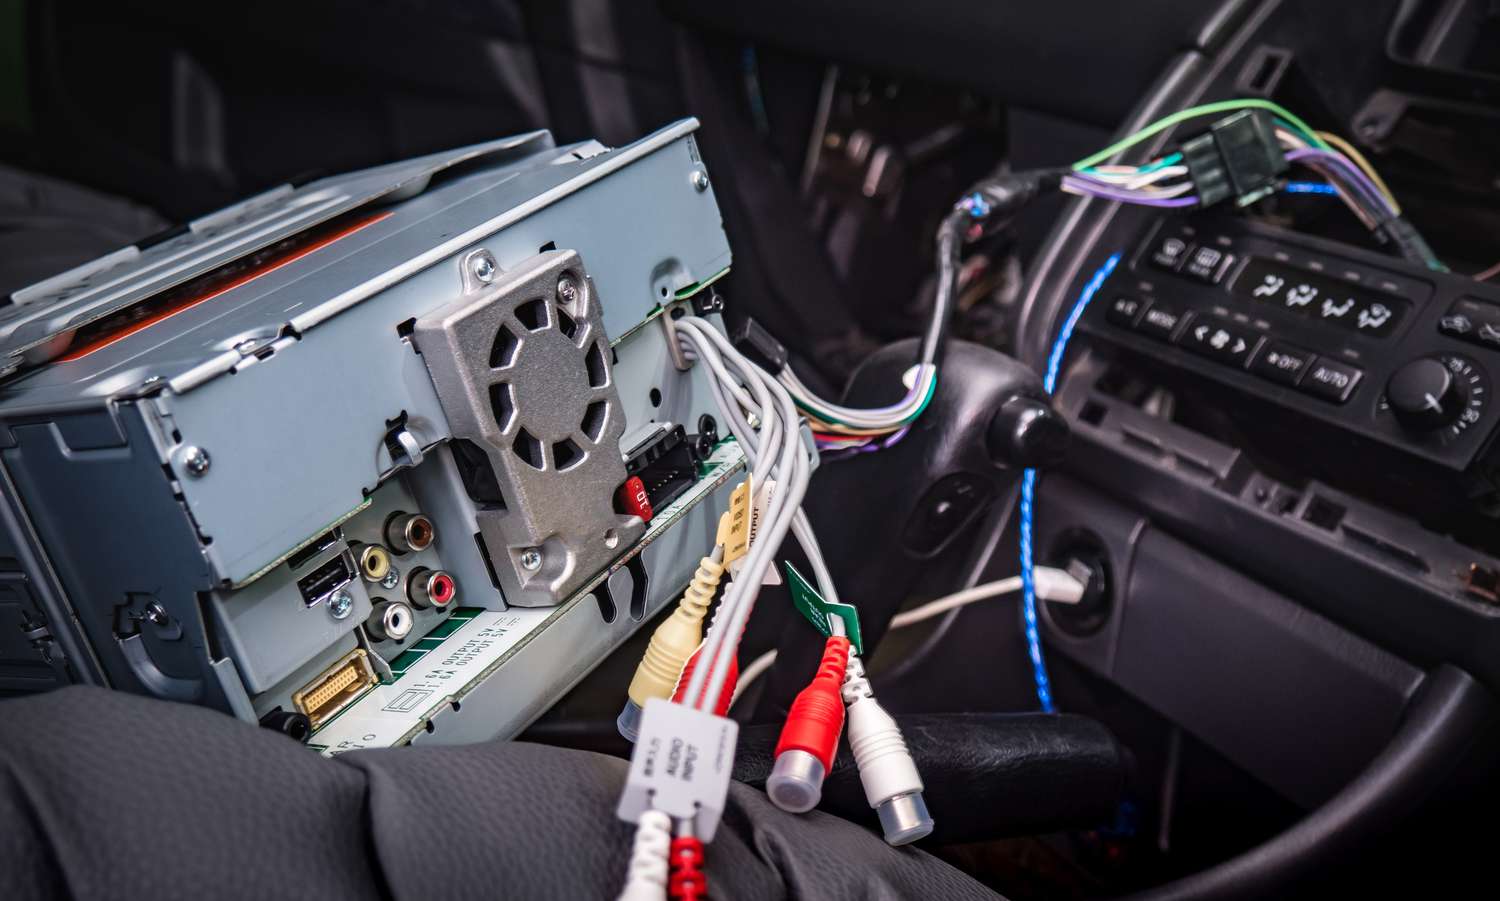
2. Remove Factory Stereo:
- Carefully remove the dash trim surrounding the factory radio using panel tools to avoid damage.
- Locate and remove the screws securing the factory radio chassis (often accessed through the trim hole once removed).
- Slide the factory radio out.
- Disconnect the wiring harness plug and antenna cable from the back.
3. Prepare Wiring:
- Connect the vehicle-specific wiring harness adapter to the vehicle's factory wiring plug.
- Connect the matching wires (power, ground, speaker, illumination, etc.) from the harness adapter to the wiring harness of the new Din and a Half stereo, usually by matching color codes or using a connection diagram. Solder or crimp connections securely and insulate them with tape or heat shrink.
- Connect the antenna adapter to the factory antenna cable and plug it into the new stereo if applicable.
4. Mount the New Stereo:
- Attach any included or required mounting brackets specific to the Din and a Half unit to its chassis according to the instructions.
- Ensure the vehicle-specific mounting kit trim panel is correctly fitted.
- Carefully slide the new Din and a Half head unit into the dashboard opening.
- Secure the unit firmly using the provided screws, typically through the sides or the front trim bezel into the factory mounting points or the mounting kit.
5. Reinstall Trim & Test:
- Reattach the dash trim pieces around the newly installed stereo, ensuring all clips snap securely.
- Reconnect the car battery's negative terminal.
- Power on the new stereo and thoroughly test all functions: FM/AM radio, CD/USB playback (if applicable), volume control for all speakers, fade/balance, illumination, and any other features.
Key Consideration: Success hinges on purchasing the correct Din and a Half (1.5 Din) specific unit and compatible vehicle-specific mounting kit. Failure to obtain these exact components will lead to installation difficulties. Always consult your vehicle service manual for precise trim removal and stereo mounting instructions.