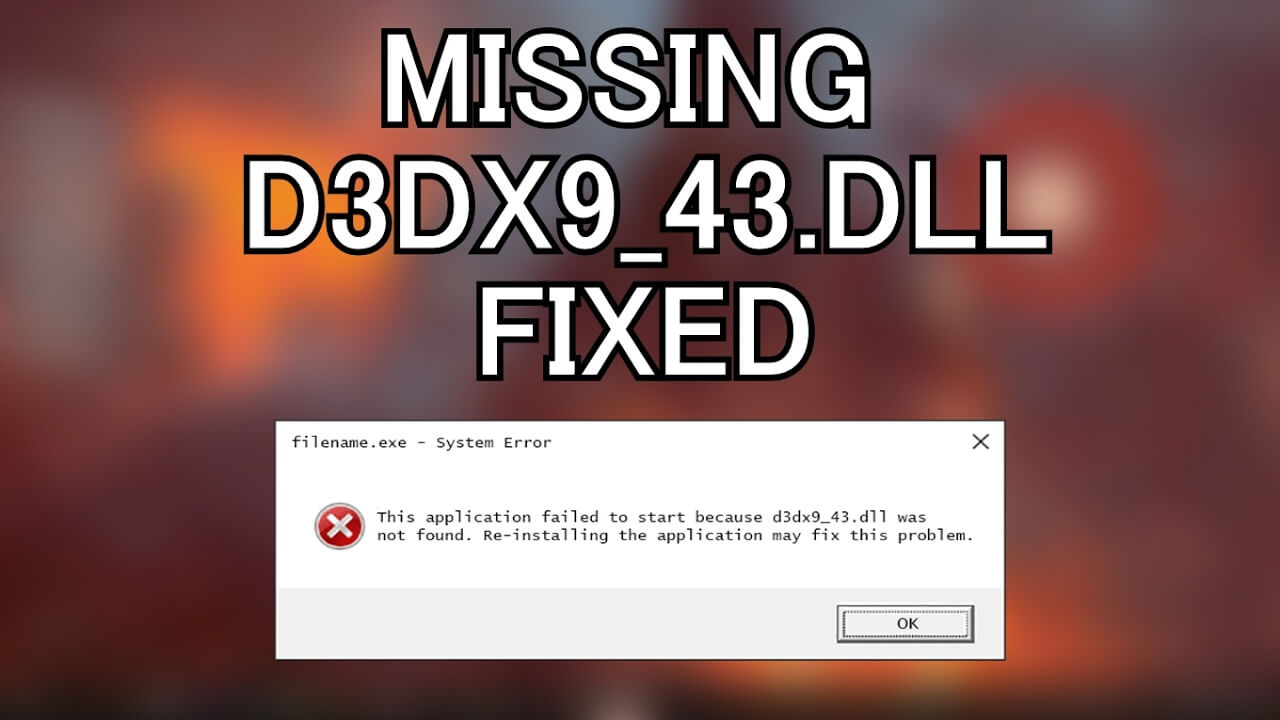
Encountering the "d3dx9_* missing" error typically indicates a corrupted or outdated DirectX installation or an incomplete game/application setup. Follow these validated solutions to resolve it permanently.
Method 1: Reinstall DirectX Runtime Libraries
Download the latest DirectX End-User Runtime from Microsoft's official repository. Run the executable after downloading:
- Accept the license agreement and proceed with installation
- Restart your system post-installation
- Launch the affected application to verify DLL availability
Method 2: Execute System File Checker
Run Windows' built-in file integrity checker via Command Prompt:
- Launch Command Prompt as Administrator
- Type sfc /scannow and press Enter
- Allow complete system scan and repairs (15-30 minutes)
- Restart after completion and re-test the application
Method 3: Manual DLL Placement (Advanced)
If other methods fail, install the DLL manually:
- Obtain d3dx9_* from the original game disc or trusted DLL repository
- Place the file in the application's installation directory
- Alternatively, copy to C:WindowsSystem32 (64-bit) or C:WindowsSysWOW64 (32-bit)
- Open Command Prompt as Admin, run regsvr32 d3dx9_*
Method 4: Update Graphics Drivers
Outdated GPU drivers can cause DirectX conflicts:
- Identify GPU model via Device Manager
- Visit hardware manufacturer's portal to obtain latest drivers
- Perform clean installation using driver package
- Reboot after installation completes
Prevention Measures
- Install all pending Windows updates via Settings > Update & Security
- Always use verified installers for games and applications
- Maintain regular system restarts for runtime updates
These solutions address root causes from system-level dependencies to application-specific requirements. For persistent issues, conduct malware scans and verify hardware compatibility.