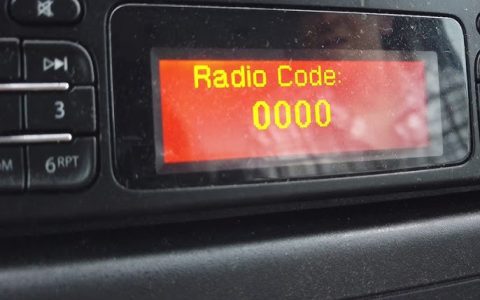
Creating your own wiring harness for a Clarion radio saves money quickly, typically cutting costs by 50-60% compared to buying pre-made units. Follow these professional tips to ensure safety, avoid wiring errors, and maximize savings.
Essential Preparation
- Use factory schematics: Always start by sourcing the specific wire color diagram for your Clarion model—it prevents mistakes.
- Gather basic tools: Need wire strippers, crimpers, heat-shrink tubing, and multimeter—invest in reusable tools.
- Opt for bulk wire: Buy unshielded automotive wires in spools rather than precut lengths—it's cheaper per foot.
Budget-Friendly Techniques
- Repurpose old harnesses: Salvage connectors from junkyard or donor vehicles—clean them thoroughly for reuse.
- Skip adapters: Directly connect wires to the radio's pins instead of buying costly harness adapters—just match colors.
- Focus on critical connections: Prioritize power, ground, and speaker wires—omit non-essential circuits to minimize wire waste.
Assembly Best Practices
- Test as you go: Use the multimeter to check continuity before crimping—avoid rework and short circuits.
- Proper insulation: Seal joints with heat shrink or electrical tape; it prevents shorts and extends harness life.
- Label wires clearly: Tag each wire with tape markers during assembly—it speeds up installation.