Mastering .ARW: Sony RAW files offer unparalleled editing flexibility but require specific workflows. Here's how to tackle common issues and edit like a professional.
Troubleshooting .ARW File Issues
Encountering problems with your .ARW files? Address these frequent issues:
- "File Cannot Be Read" Error: Often indicates corruption during transfer or storage. Verify file integrity on the memory card first using camera playback. Attempt recovery using specialized software before copying files.
- Software Fails to Recognize/Import: Ensure applications like Lightroom, Capture One, or Photoshop are updated. Older software versions lack support for newer camera models' .ARW formats. Check your Adobe Camera Raw or Capture One camera support list.
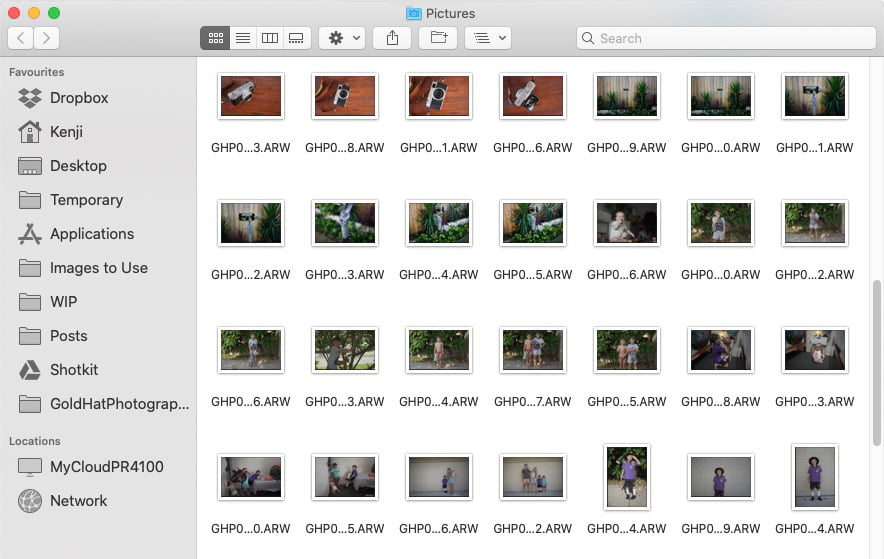
- Blank Thumbnails in Finder/Explorer: Operating systems generate thumbnails slowly for RAW files. Use dedicated RAW browsers or DAM software. Check system preferences to ensure thumbnail generation is enabled.
- Unexpected Color Casts (Initial Import): Applied default profiles might clash. Reset software Develop defaults or switch from Adobe Standard to Camera Matching profiles initially.
Professional .ARW Editing Workflow
Maximize quality with this targeted approach:

- Choose Dedicated RAW Software: Utilize Adobe Lightroom Classic, Capture One Pro, or DxO PhotoLab. These offer deep RAW engine control far exceeding generic editors.
- Leverage Lens Corrections First: Enable automatic lens profile corrections immediately to fix distortion, vignetting, and chromatic aberration inherent to the RAW data.
- Master White Balance: Use the eyedropper tool on a neutral gray area for critical accuracy. Manually refine Temperature and Tint sliders if needed.
- Prioritize Exposure & Dynamic Range:
- Use the histogram: Avoid clipping highlights (right edge) and shadows (left edge).
- Recover Highlights/Shadows: Pull back extreme details judiciously.
- Adjust Exposure for overall brightness.
- Refine Colors & Detail:
- Clarity/Texture: Enhance mid-tone contrast and fine details cautiously.
- Vibrance/Saturation: Prefer Vibrance for subtle, skin-safe boosts.
- HSL/Color Grading: Target specific hue ranges for precise adjustments.
- Sharpening & Noise Reduction: Apply modest sharpening (25-50 in Lightroom) primarily during export. Use Luminance noise reduction conservatively to avoid smearing details, especially above ISO 800. Consider masking tools.
- Export for Purpose: Export processed files as TIFF (16-bit) for further Photoshop work or high-quality printing. Export as JPEG (Quality 80-90) for web or client previews.
Best Practices
- Always Work on Copies: Preserve original .ARW files unedited. Work on Catalog edits (non-destructive) or exported TIFFs for further manipulation.
- Calibrate Your Monitor: Essential for accurate color assessment and editing decisions.
- Invest in Robust Storage: Maintain organized archives with reliable backup solutions (3-2-1 rule).


