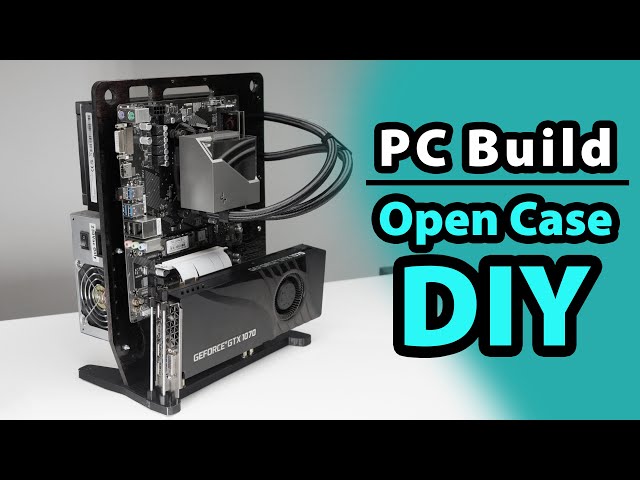
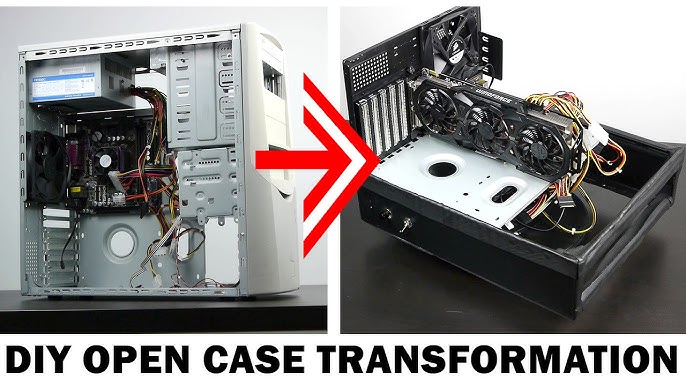
Building an open computer chassis offers superior airflow and easy component access. Follow these essential steps for a stable DIY build:
Required Tools & Components
- Modular test bench frame or acrylic sheets (¼-inch thickness recommended)
- Motherboard standoffs and screws
- Power supply mounting brackets
- GPU support bracket (optional but recommended)
- #6-32 threaded screws and M3 screws for component mounting
- Anti-static wrist strap
Assembly Procedure
Step 1: Prepare the Frame
Position motherboard standoffs according to your motherboard's form factor (ATX/mATX/ITX). Ensure precise alignment with the board's screw holes.
Step 2: Secure Core Components
Mount the motherboard onto standoffs using brass screws. Install CPU cooler before placing the assembly if using large air coolers. Attach PSU using dedicated brackets, orienting the fan toward open space.
Step 3: Install Expansion Cards
Insert GPU into the primary PCIe slot until the retention clip clicks. Use a support bracket if the card exceeds 25cm. Add PCIe risers for vertical mounting when applicable.
Step 4: Cable Management
Route 24-pin, CPU, and PCIe power cables away from fans. Secure loose cables with nylon ties to the frame's mounting points. Maintain clearance between cables and moving parts.
Step 5: Storage & Peripherals
Mount SSDs using rubber grommets on dedicated trays. Avoid mechanical HDDs unless using vibration-dampened mounts. Connect front-panel headers using extension cables.
Critical Safety Considerations
- Always discharge static electricity before handling components
- Maintain minimum 15cm clearance between frame and walls
- Install all I/O shields to prevent circuit shorts
- Anchor the frame to prevent accidental tipping (weight tolerance > 3kg)
Post-Assembly Verification: Power on without components to test PSU. Visually confirm no metal parts contact PCB traces. Monitor temperatures during initial 24-hour burn-in.