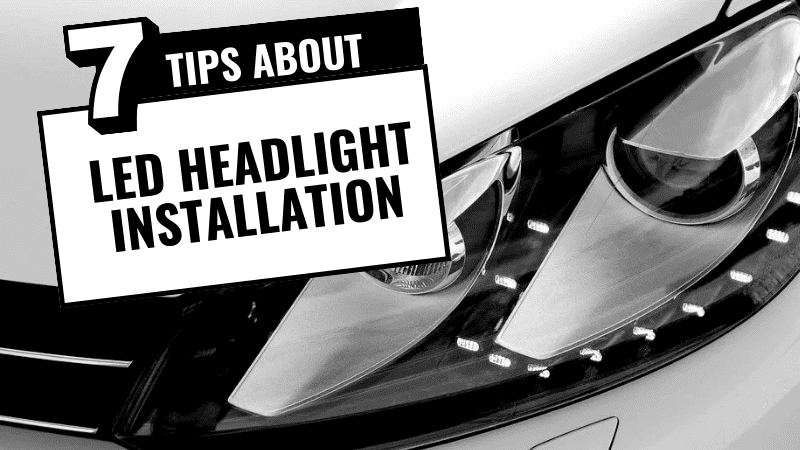
Install driving lights correctly to improve visibility and ensure safe operation. Follow these essential tips for optimal results.
Verify Compatibility & Legality
Confirm the lights are compatible with your vehicle's electrical system (voltage, wattage). Research local laws regarding auxiliary light color, brightness, placement, and usage to avoid fines.
Prioritize Safety
- Disconnect the battery (negative terminal first) before starting any electrical work.
- Wear safety glasses when drilling or cutting.
- Work in a clean, well-lit, and stable environment.
Essential Tools & Materials
- Driving light kit (including lights, brackets, wiring harness, relays, switches)
- Basic hand tools (screwdrivers, wrenches)
- Wire strippers/crimpers
- Electrical tape and/or heat shrink tubing
- Ring terminals and crimp connectors
- Multimeter
- Drill and appropriate bits (if needed for mounting)
- Cable ties and conduit for wire protection
Installation Steps
Mount the Lights Securely: Attach brackets to the vehicle using the designated mounting points. Ensure lights are positioned symmetrically and securely fastened. Avoid blocking airflow or interfering with factory lighting.
Install the Switch: Mount the switch inside the cabin in a convenient, accessible location. Feed the switch wire through the firewall using an existing grommet or with a new, sealed grommet.
Route the Wiring Harness: Route the harness from the battery area through the engine bay, avoiding hot surfaces, sharp edges, and moving parts. Use cable ties and conduit for protection. Route through the firewall to connect to the switch.
Connect the Relay (CRITICAL): The relay isolates the high-current circuit from the switch and vehicle electronics.
- Pin 30: Connect to battery positive via an inline fuse (size per kit instructions).
- Pin 85: Connect to ground (vehicle chassis).
- Pin 86: Connect to the switch output wire.
- Pin 87: Connect to the positive wires of the driving lights.
Connect the light negative wires directly to a good chassis ground point.
Ground Connections: Clean paint/corrosion from grounding points (both relay and lights) on the chassis to ensure strong metal contact.
Fuse Protection: Install the appropriate fuse as close to the battery positive terminal as possible.
Aim the Lights Correctly
- Park on level ground facing a wall, approx. 25 feet away.
- Mark the height of the existing headlight low-beam centers on the wall.
- Turn on driving lights. Adjust mounting brackets so the hotspot is below the headlight low-beam marks to prevent blinding other drivers.
Final Checks
- Double-check all connections for security and correct polarity.
- Reconnect the battery (negative terminal last).
- Test lights: Ensure they only operate with the ignition on (if wired correctly via relay trigger) and the switch engaged.
- Check factory headlights, indicators, and horn still function normally.
- Verify lights turn off reliably with the switch.
- Secure all wiring away from hazards with additional cable ties.
CAUTION: Incorrectly installed driving lights pose fire risks, electrical system damage, impaired vision, and hazard to other road users. If unsure, consult a professional automotive electrician.