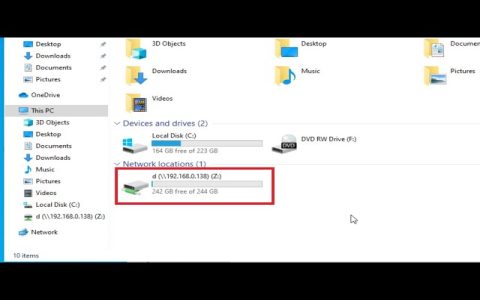
Mapping a network drive on a Mac allows seamless access to shared folders from other computers or servers, such as Windows PCs or NAS devices.
Steps to Map a Network Drive
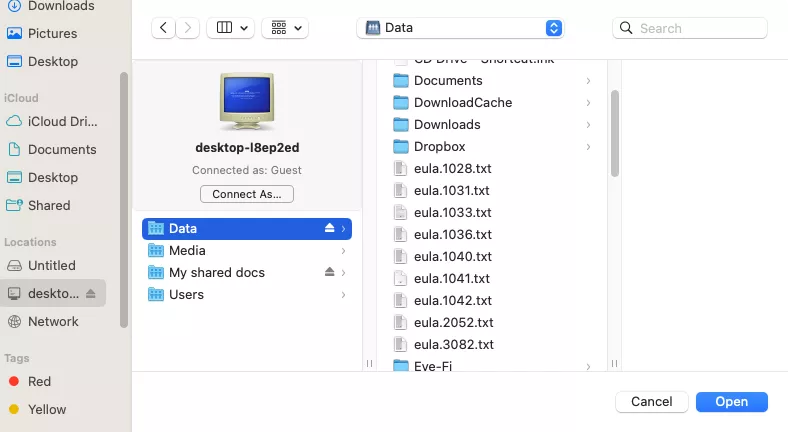
- Open Finder.
- Select Go from the menu bar and click Connect to Server.
- Enter the server address in the format smb://[server-address]/[share-name] for Windows shares; use afp:// for Apple devices.
- Click Connect and enter your username and password if prompted.
- Select the shared drive to mount it; it will appear under Locations in Finder.
Optional Tips
To mount the drive automatically at login, select it in Finder, open the Apple menu, choose System Settings, go to General, and add it under Login Items.
If connection fails, verify the server address and ensure network sharing is enabled on the target device; restarting your Mac or router often resolves issues.