Setting up automatic internal lights is straightforward. Follow these essential steps:
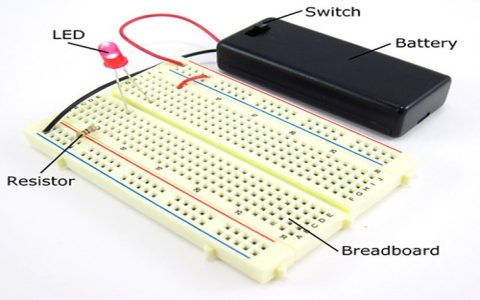
Gather Essential Components
- Smart Bulbs or Smart Light Switches: Choose bulbs for existing lamps/fixtures, or switches to automate an entire circuit.
- Compatible Hub (if required): Check if your chosen bulbs/switches need a brand-specific bridge/hub.
- Dedicated Smart Home App: Download the official app (e.g., Philips Hue, Kasa Smart, Smart Life).
- Stable Wi-Fi Network: Ensure reliable 2.4GHz Wi-Fi coverage where devices install.
Plan Your Automation Zones
Identify key areas like entryways, hallways, bedrooms, or living rooms needing automatic lighting.
Install the Smart Devices
- For Smart Bulbs: Simply screw bulbs into existing sockets. Turn the wall switch ON and leave it ON permanently.
- For Smart Switches: Turn OFF power at the breaker. Replace the standard switch with the smart switch following its wiring diagram carefully. Restore power.
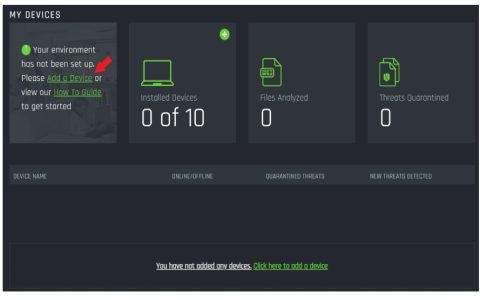
Connect & Configure in the App
- Open the smart app and create/login to your account.
- Find the "Add Device" option.
- Follow on-screen prompts: Put bulbs/switch into pairing mode, connect to Wi-Fi, name each device (e.g., "Front Entry Light"). Group lights logically into rooms.
Set Up Your Automations
- Schedules: Tap "Automation," "Schedule," or "Routines." Set lights to turn ON/OFF at specific times daily (e.g., ON at Sunset, OFF at 11 PM).
- Motion Triggers: If using compatible motion sensors, create rules like "Turn ON Entrance Lights when motion detected, turn OFF after 2 minutes."
- Geofencing (Optional): Enable location-based triggers like "Turn ON Hallway lights when arriving home."
Test & Refine
Verify each automation works correctly. Adjust sensor sensitivity, timing delays, or brightness levels as needed within the app.