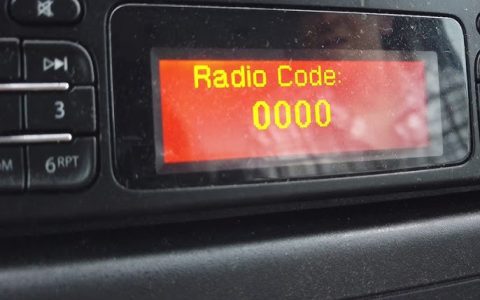
When your car jump starter fails to operate via the 12V lighter socket, methodically troubleshoot these key areas to restore functionality quickly.
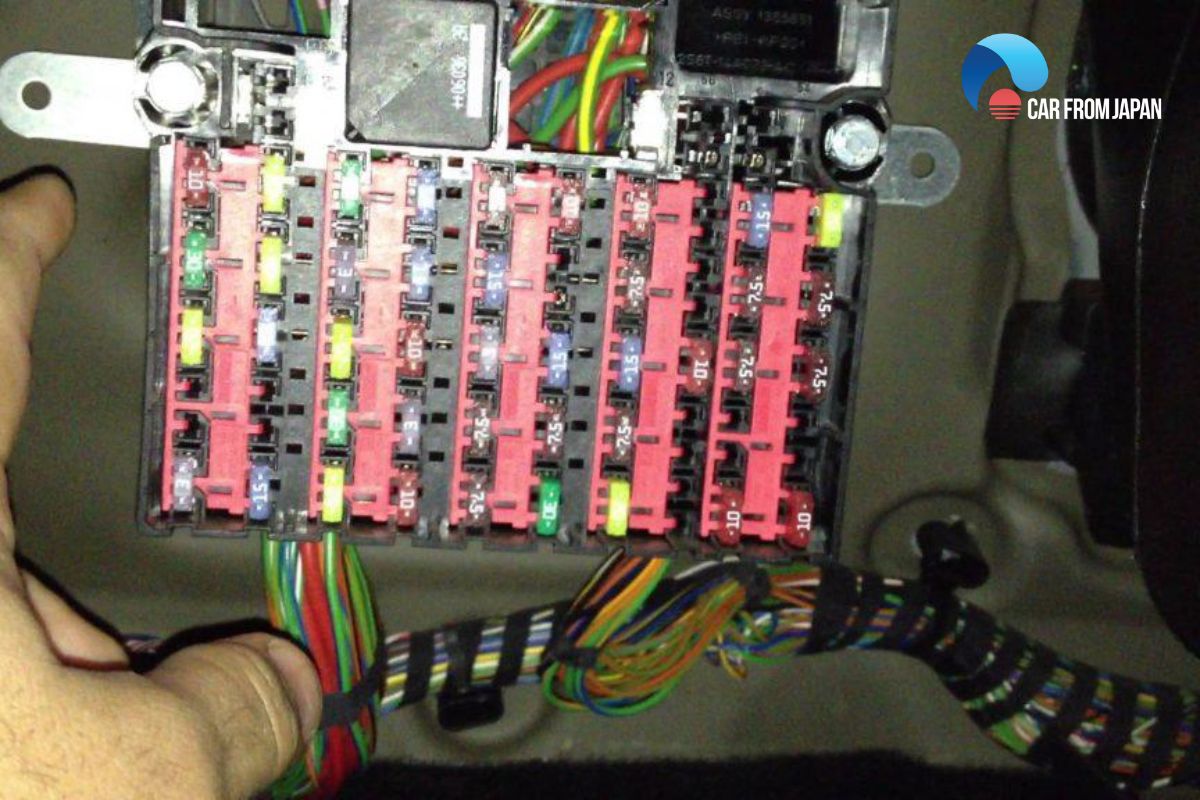
Socket Fuse Verification
Locate your vehicle's fuse box using the owner's manual. Identify the lighter socket fuse (typically 15A-20A) marked as "CIG," "PWR," or "ACC." Remove it with fuse pullers and visually inspect the metal strip for breaks. Replace with an identical fuse rating if damaged.
Physical Connection Checks
- Socket debris removal: Insert a flashlight to inspect for foreign objects blocking the socket. Clean contacts with electrical contact cleaner.
- Plug alignment: Rotate the plug in the socket until it clicks into position - some vehicles require specific orientation.
- Cable inspection: Trace the entire cable for kinks, cuts, or damage to the insulation.
Power Validation
Set your multimeter to DC voltage (20V range). Ground the black probe to unpainted metal and insert the red probe into the socket center terminal. With ignition in the ACC/ON position, expect 11-14V readings. No voltage indicates circuit damage beyond the fuse.
Device-Specific Factors
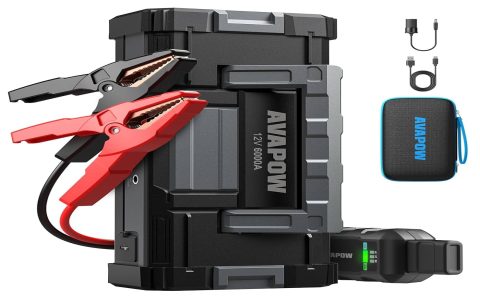
- Amp-hour mismatch: Compare jumper pack minimum requirements to your engine displacement (small cars: 150-250A; trucks: 350A+).
- Battery state: LED indicators showing below 30% charge will prevent activation even when plugged in.
- Safety timers: After three failed start attempts, most units require mains charging to reset protection circuits.
Vehicle Compatibility Limitations
Newer hybrid vehicles (post-2018) may disable accessory ports during low-voltage events. Diesel engines exceeding 6.0L require direct battery terminal connections due to socket current limitations (typically 10A continuous/15A surge).
Emergency Protocol
If no fault resolution occurs:
- Activate jump starter directly at battery terminals using manufacturer-supplied clamps
- Apply dielectric grease to terminal connections to reduce resistance
- Initiate engine start within 30 seconds of power transfer