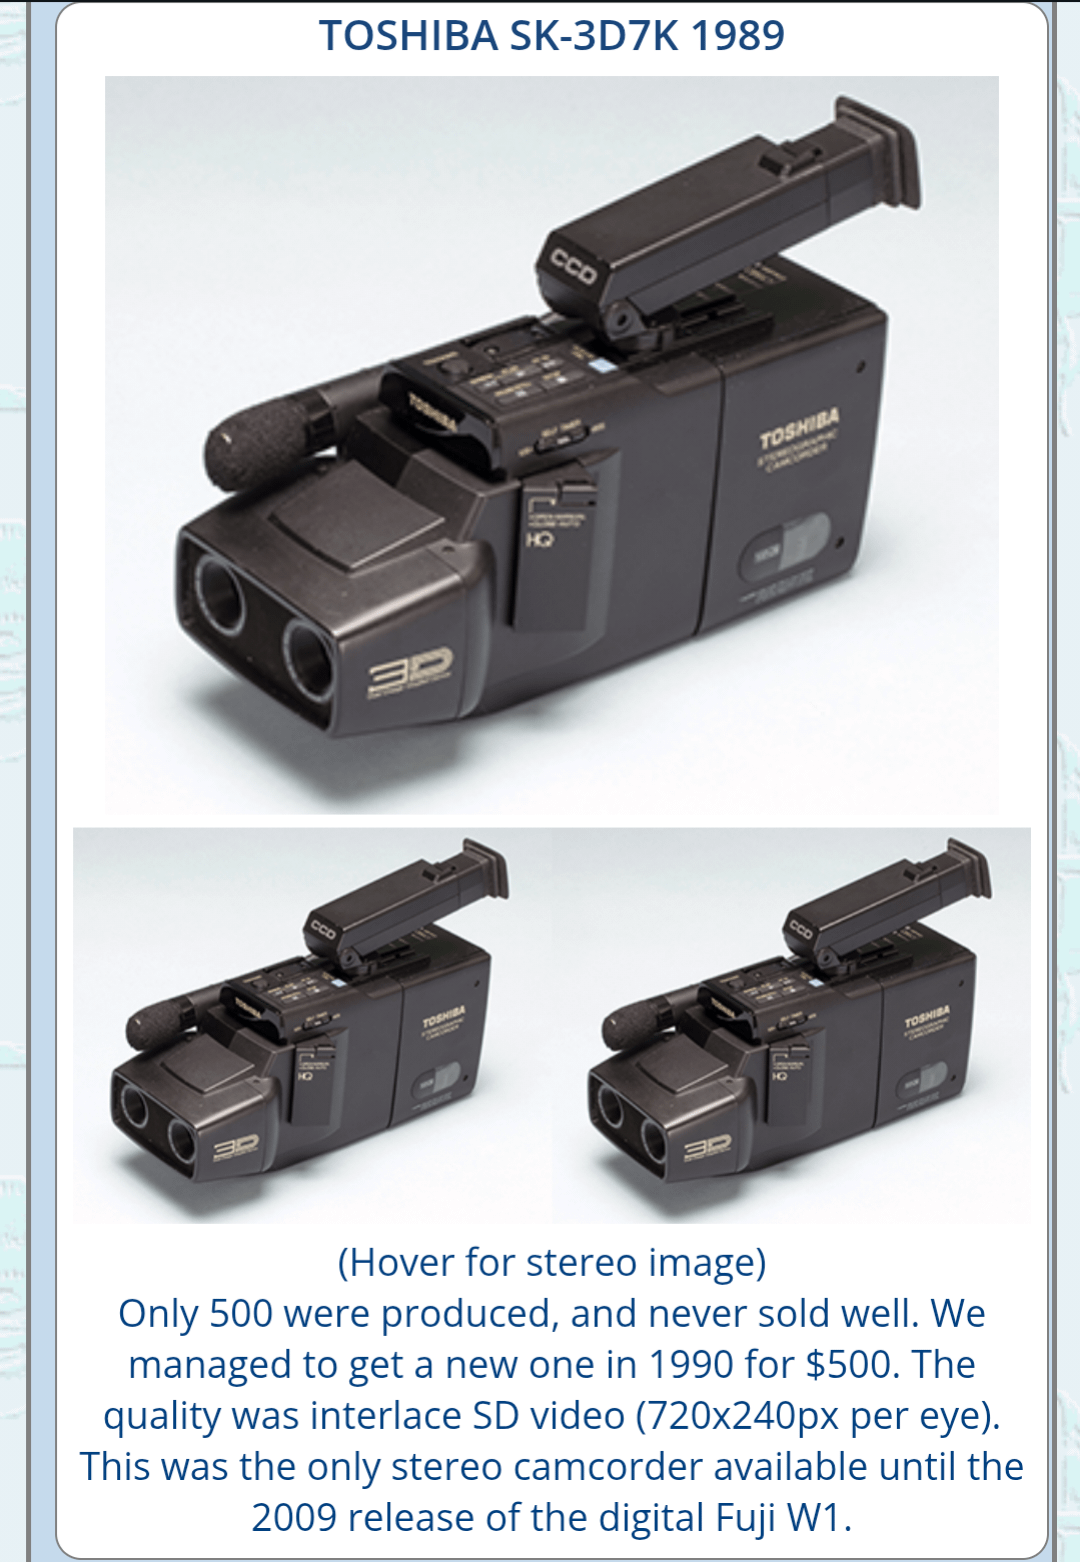
Getting Started with Your SK-3D7K 3D Camcorder
This guide provides essential steps for beginners to effectively set up and operate the SK-3D7K 3D Camcorder.
Physical Setup
Secure Mounting: Utilize a compatible tripod or mount with stable damping (Referenced stability principle). Ensure the mount securely attaches to the camcorder's baseplate, utilizing any provided quick-release mechanisms for safety.
Lens & Accessories:

- Confirm correct lens mount compatibility (e.g., C/CS mount - Critical compatibility check).
- Gently align and rotate the lens into the mount until seated. For automatic aperture lenses, connect the control cable.
- Install a fully charged battery or connect the power adapter before powering on.
Initial Configuration & Calibration
Power & Basic Settings:
- Press the POWER button to turn the camcorder on.
- Navigate menus using the control interface to set date, time, and basic preferences.
- Set recording format/resolution (consult your manual for supported options).
Core 3D Calibration (Essential for Stereoscopic Capture):
- Camera Calibration (Implicit): The SK-3D7K integrates twin lenses/sensors. Proper factory calibration is crucial for accurate depth perception. Follow any specific unit initialization prompts.
- Interaxial Distance: This fixed distance between the two lenses is core to the 3D effect. Do not attempt to adjust unless specified as a user feature in your model's manual.
- Parallax Adjustment (Convergence): This critical control adjusts where the left and right images converge (setting the 'screen plane'). Access this setting (likely via menu/function button). Manually adjust convergence point (often visualized in the viewfinder/LCD) based on subject distance and desired 3D effect - crucial for comfortable viewing and avoiding eye strain. Test adjustments for optimal results.
Capturing 3D Footage
Basic Operation:
- Frame your shot ensuring key subjects are within the comfortable parallax range (avoid extreme near/far objects initially).
- Set Focus: Use Autofocus (AF) by half-pressing the REC START/STOP button or engage Manual Focus (MF) via menu/switch and manually adjust using the focus ring.
- Set Exposure: Use Auto Exposure (AE) or select Manual (M) to adjust shutter speed, aperture, and gain independently as needed.
- Set Audio: Ensure microphone is connected/active and levels are set appropriately.
- Press the REC START/STOP button to begin recording; press again to stop.
Maintaining Stability:
- Always use a tripod/monopod for stable 3D capture. Handheld requires exceptionally steady technique to minimize shaky dual-image effects.
- Pan and tilt smoothly and slowly. Avoid abrupt movements which are disruptive in 3D.
Shutdown & Handling
Safe Power Down:
- Press POWER button (sometimes requires a 'hold' function) to turn off the camcorder completely.
- Disconnect power sources if storing for extended periods.
Environmental Protection:
- Always attach the lens cap when not in active use.
- Store the camcorder and lenses in a cool, dry place away from direct sunlight, moisture, dust, and strong magnetic fields (Standard best practice).
- Clean lenses only with approved lens tissue/fluid and a soft blower brush; clean the body with a soft, dry or slightly dampened cloth.